
Note
The websites linked in the text are real websites that inspired the author to create this tool during the first COVID-19 lockdown. If you want to check them out, they are quite interesting!
Here is the code we can use to add the disclaimer:
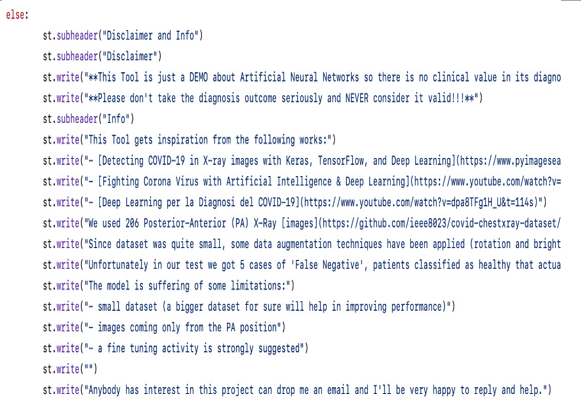
Figure 9.15: The code used for the Disclaimer section
Actually, this code is just a proposal. You don’t need to copy it in your version of the COVID-19 Detection Tool web application. You can modify it as you like, and if you decide to use another model to make the predictions (nowadays, it’s quite easy to find several pretrained models online, for example, https://ieeexplore.ieee.org/document/9340145 or https://www.nature.com/articles/s41598-023-33685-z), you can insert the information about your own version and your new model, together with an explanation about its performances and accuracy.
Here’s the Disclaimer section for my version of the app:
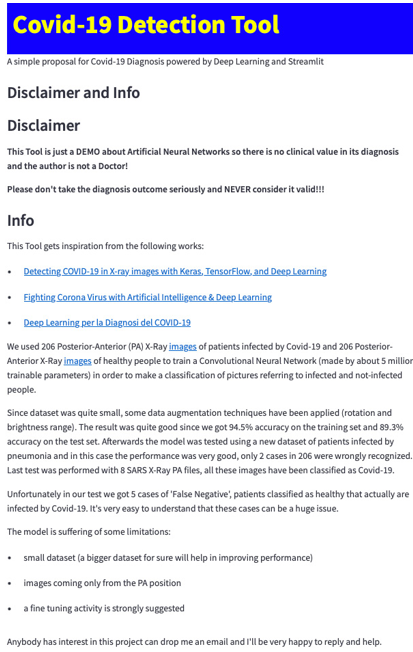
Figure 9.16: The disclaimer in the browser
The result is very clean and neat because we used headers, bold, lists with bullet points, and hyperlinks to external websites.
As usual, let’s print the code we have implemented up to now in order to be sure that everything for our web application is written correctly without mistakes:
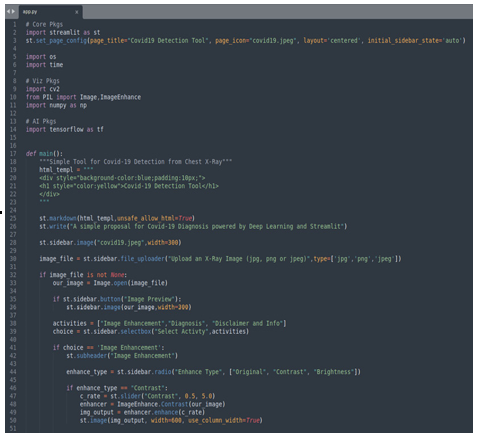
Figure 9.17: The first part of the code
To recap, in Figure 9.17, we have the first part of the code, where we import all the relevant libraries, set up the page title and icon, define the main function, and inside it, we put an image in the sidebar together with the menu of the app.
This menu contains three voices: Image Enhancement, Diagnosis, and Disclaimer and Info. Inside Image Enhancement, we can select between three options: Original, Contrast, and Brightness.
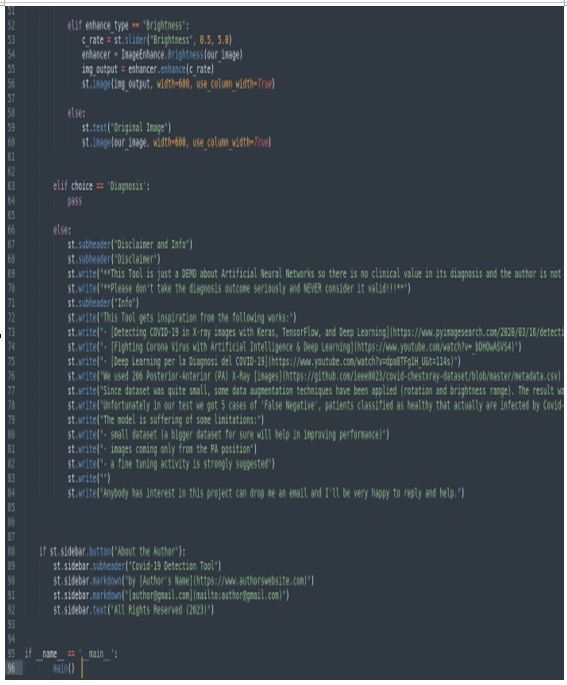
Figure 9.18: The second part of the code
In the second part of the code, shown in Figure 9.18, we complete the Disclaimer and Info and About the Author sections, while we leave the Diagnosis part blank for now.
Summary
In this chapter, we have completed two of the three voices composing the menu of our COVID-19 Detection Tool web application.
To deal with the Image Enhancement voice, we leveraged the Pillow library, which is a very powerful library that makes it possible to manage some quite powerful functions, such as image contrast and brightness, with very few lines of code.
We also created multiple selections for the user, adopting radio buttons and if clauses. Radio buttons are a very clean and powerful way to propose selections, and there is no way to put any kind of ambiguity in the process.
Using sliders in combination with image visualization is a powerful tool to adjust various parameters, such as contrast and brightness. Sliders provide the user with the ability to precisely and continuously select the desired value for any given parameter.
Another important trick to underline is that every time we modified images (for example, to perform brightness adjustments), we worked on their copies and not on the original image. In this way, it was quite simple to move back to the original situation just showing the image that was loaded thanks to file_uploader.
We also learned how well-formatted text that leverages the Markdown syntax can be full of information to the user – for example, to show the technologies used and the sources and documents of inspiration. For sure, this clean and nicely formatted text is the perfect way to create disclaimers to avoid any future problems.
In the next chapter, we will learn how to integrate artificial intelligence and machine learning models into our web applications.