Getting familiar with the Streamlit Share service
Now that we’ve covered the theory, let’s understand how to deploy our fresh NLP web application in a very easy and smooth way!
First of all, you will have to go to https://share.streamlit.io:
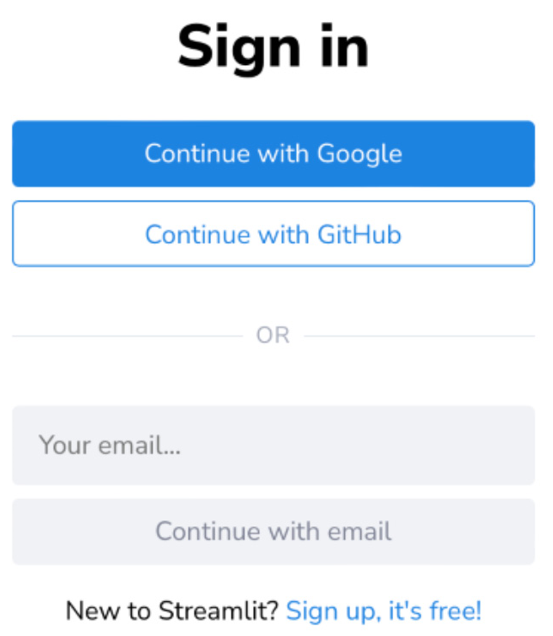
Figure 7.1: The Streamlit Share web page
When you arrive on the page, you must sign in with your GitHub account, using the email (or username) and password you use for your GitHub account. This requires you to register for a GitHub account if you do not already have one (https://github.com).
Now, before signing in, I strongly suggest that you carefully read Streamlit’s official documentation about sharing apps since you can find very detailed information about how to share private and public apps:
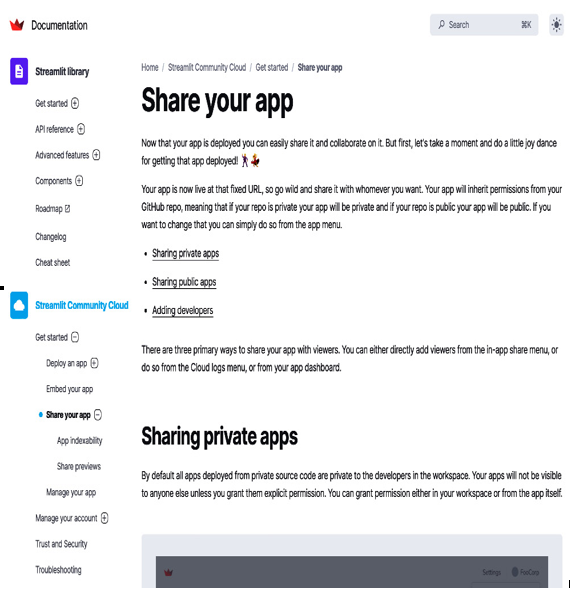
Figure 7.2: Official “Share your app” documentation on Streamlit’s website
Once you’ve logged in with your GitHub account, you will see a page similar to the following (in mine, there are a lot of already published/deployed applications; in the beginning, yours will be empty):
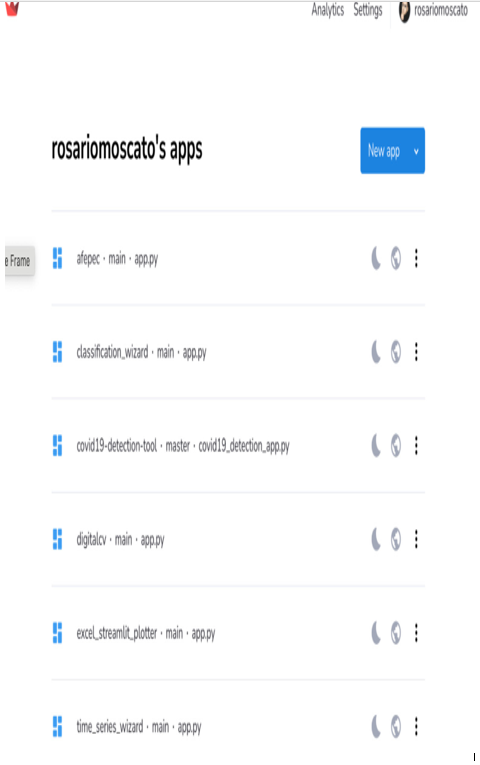
Figure 7.3: The page you get after logging in
On the top left-hand side of the page, there is the Streamlit logo, while on the right-hand side, there are the Analytics and Settings areas of the menu and your account name.
To work correctly, the web application we are going to deploy needs all the required libraries in its code. There are several ways to collect the list of all these required packages, but one of the simplest is using the pipreqs package. So, from the command line, let’s write the following:
pip install pipreqs
This installation is very fast. Once completed, you can write, once again in the command line, a very simple instruction:
pipreqs my_application_folder_name
Here, my_application_folder_name is the folder where the Python file of your application lives.
This instruction will produce a file named requirements.txt. If you open it, you will see that it contains a list of all the packages/libraries that are required by the Python web application we will deploy:
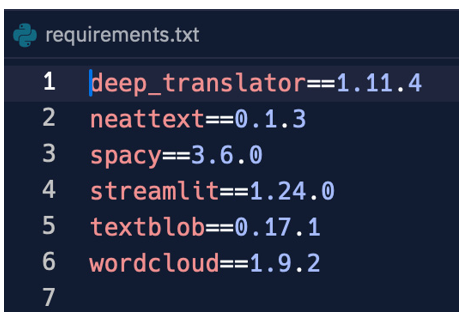
Figure 7.4: The “requirements.txt” file
Very well – we already have everything we need! Before you start the real deployment, you must upload the Python file of the web app, so the app.py or whatevername.py file, together with the requirements.txt file you just made, and the nlp.jpg file we used as an image in the sidebar for GitHub (if you don’t update the image file, you will get a runtime error). Your GitHub should contain these two files and should look like this:
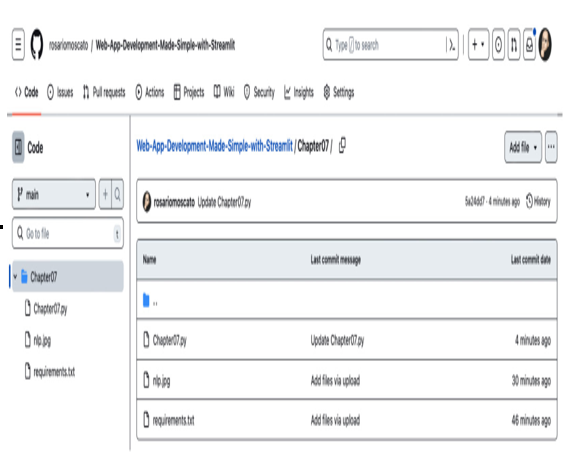
Figure 7.5: GitHub with the files needed for deployment
