
If you are at the stage shown in Figure 7.5, everything is ready for deployment. Please move back to the Streamlit Share page and click on New app, then From existing repo, as shown in Figure 7.6:
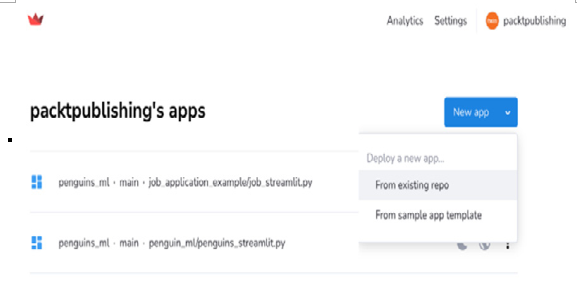
Figure 7.6: “New app” from an existing repo
Now, you will be asked to provide some information about the repository, including its name (under Repository), Branch, Main file path, and App URL (Optional), as shown in Figure 7.7:
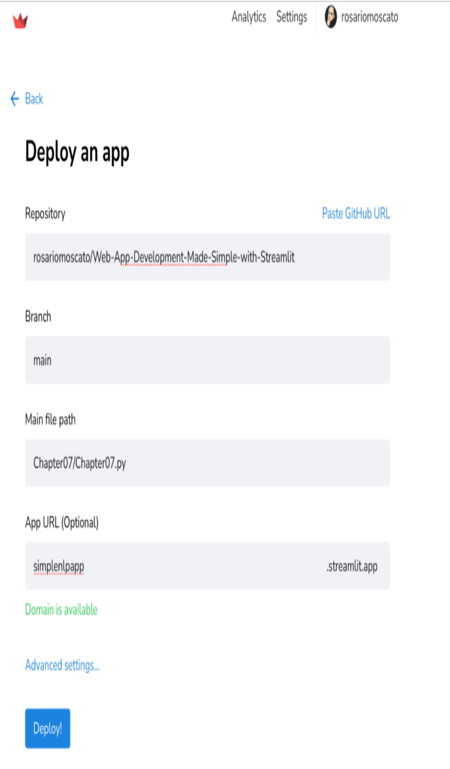
Figure 7.7: The information that’s required to deploy the app
The information required depends on how you upload your files to GitHub. However, providing this information is simple. You must provide the name of your repository, which will be displayed as an alternative in the form. You will also need to provide the name of the branch, which is usually main. Additionally, you will need to provide the name of the application code file, which should be app.py or the name of your Python file. Finally, it is strongly suggested that you fill in the name of the public URL that everyone will use to connect to your web application. More or less, that’s it! You can then click Deploy! and just wait for the magic to happen.
While the web application is being deployed, you should get a nice message saying Your app is in the oven, with an animation made up of nice images of desserts:
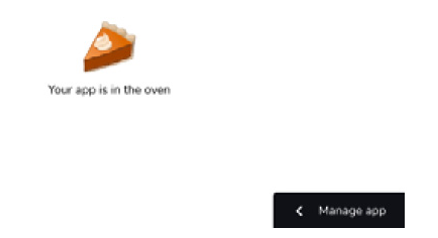
Figure 7.8: Your app is in the oven
After a little while, your web application will be up and running in the cloud, on the internet!
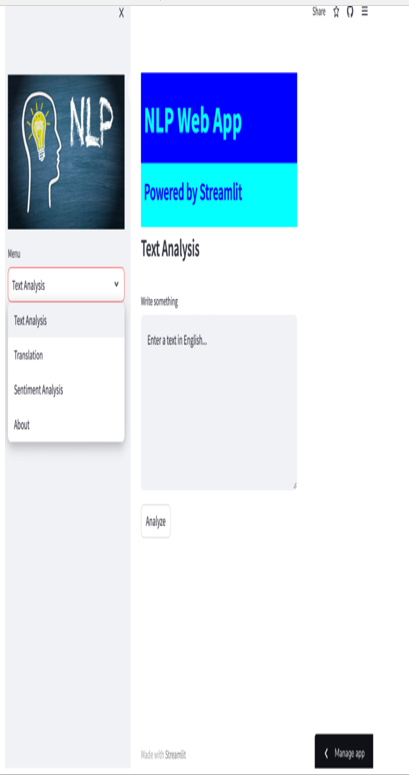
Figure 7.9: The NLP web app has been deployed
This was very easy and neat. Once our app is working on the cloud, we might want to manage it. Let’s see what functions we can access by clicking on Manage app in the bottom-right corner of the web app:
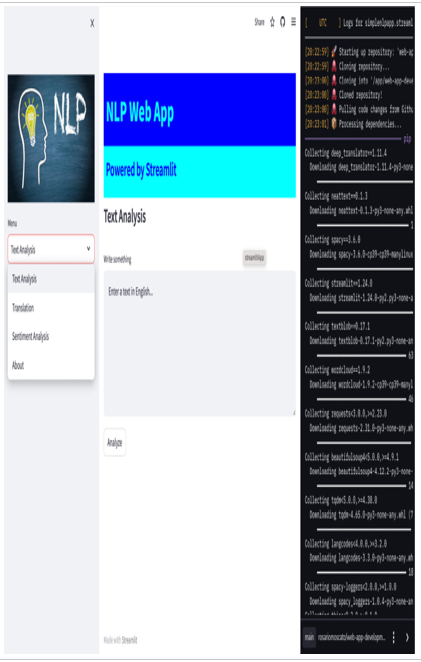
Figure 7.10: Deployment “terminal”
First of all, we will see something like an installation terminal – that is, a terminal reporting everything that is going on with our deployment. Besides this, we can click on the three dots, which will give us access to some very important functions:
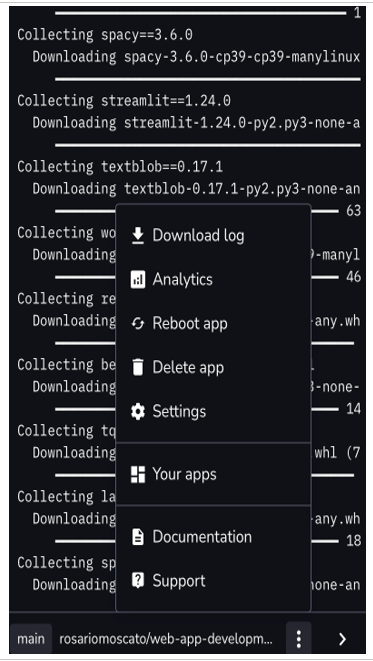
Figure 7.11: Functions in Streamlit Share
First, by choosing Download log, we can download the deployment log, which is very useful in case of issues. After that, we can access the analytics of our app, reboot the web application, delete it, and access some settings. Moreover, we can get an overview of all the web applications we have already deployed and check the documentation or ask for support.
If we select Settings, we will have access to three extra voices, as shown in Figure 7.10:
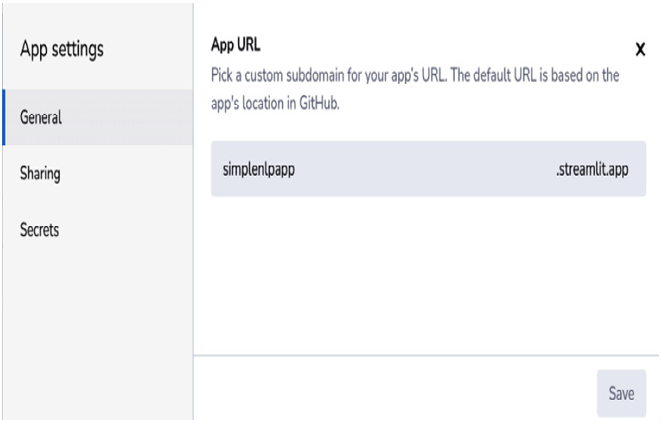
Figure 7.12: App settings
In the General section, we can modify the URL of our app, in the Sharing section, we can decide whether our web app is private or public, and in the Secrets section, we can specify – if we use them – the API keys for external services without sharing them with everybody.