Consolidating cloud deployment skills
Considering that we are at Chapter 11 of this book, we should be aware of the fact that implementing a web application is only one part of the process and that the process ends only when the web app is deployed and shared.
We already understand the importance of web application deployment as we covered this when we created the NLP web application in the first part of this book, as well as because it’s one of the first things we see when we land on Streamlit’s website:

Figure 11.1: Streamlit’s slogan about app sharing
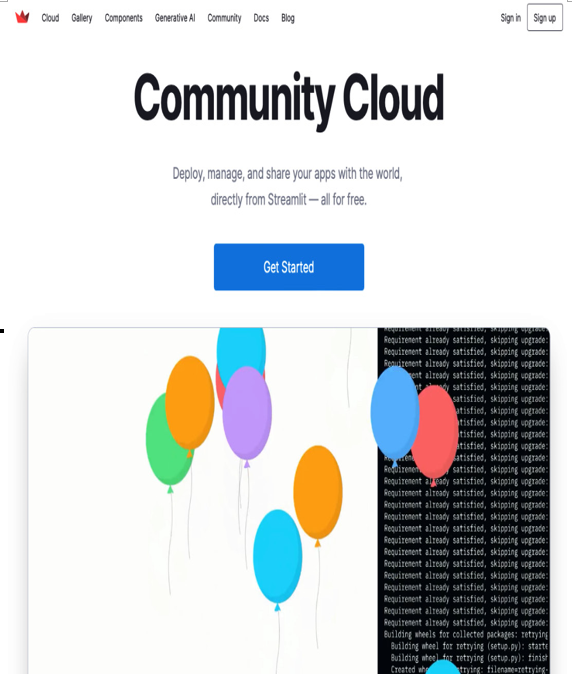
When we click on the Cloud voice of the main menu, we are redirected to a page containing a quick video about the deployment and an important declaration: Deploy, manage, and share your apps with the world, directly from Streamlit — all for free:

Figure 11.2: Streamlit Cloud
The most important message here is share your apps with the world. A web application is something that lives on the web – that’s its real essence.
When we deployed the NLP application, we adopted quite a smooth process:
- We created a requirements file.
- We hosted the web application on GitHub.
- We signed into Streamlit Cloud.
- We shared the web application through a Streamlit Cloud/GitHub connection.
The procedure will be the same for our Covid-19 Detection Tool app, with one important difference: we must manage an external and large file – that is, the CNN pretrained model needed to detect Covid-19 cases. Let’s learn how to deal with this kind of large artifact.
Avoiding bad behavior
Bad behavior is any kind of missing, wrong, or incomplete action that produces a runtime problem during the deployment, where the result is the deployment task failing. For this reason, in this section, we will learn about the steps that are required to complete any deployment.
Creating a list of all the packages that were installed and used to develop the Python code
The first thing we need to run our web application is the list of all the packages that were installed and used to develop the Python code. As we know, there are several ways to get this list, but the easiest one is to use pipreqs. Let’s take a look:
- First of all, let’s install pipreqs by typing the following command in the Terminal:
pipenv install pipreqs (simply “pip install pipreqs” if you are not using pipenv)
- Then, we can create the requirements.txt file with the following simple instruction:
pipreqs ./covid
Here, covid is the name of the directory containing all the code for our web application.
- Finally, let’s check that the required file contains everything by simply writing the following instruction:
cat ./covid/requirements.txt
Figure 11.3 shows the contents of the requirements.txt file:

Figure 11.3: The requirements.txt file
Now that we have all the code and the requirements file, we are ready to create a dedicated repository on GitHub.
