
Building the app skeleton
At this point, we should be quite expert at building the application’s skeleton, since we did a very good job with the NLP web app developed previously. In fact, if you recall, we first defined and built up a simple skeleton containing just a menu with all the functions supposed to be present in the web application and only in a second moment, we implemented those functions one by one. Now we are going to adopt the same approach.
Before building up the skeleton for the COVID app, let us just add a couple of other decorations to our app – for example, some text just below the title and an image in the sidebar.
The code with the two new lines of code is shown in the following figure:
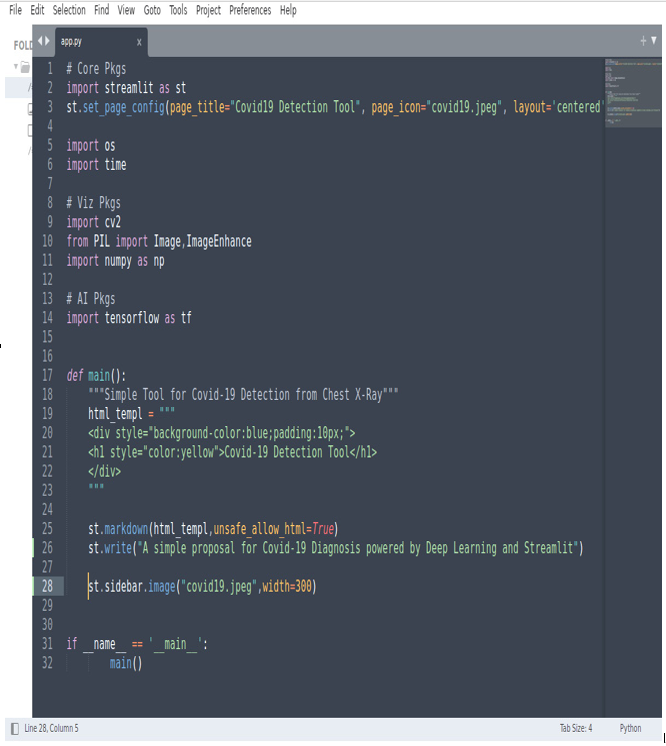
Figure 8.7: Text below the title and sidebar creation
As we already know, the code in the third line is responsible for the web application configuration, setting the page title (Covid-19 Detection Tool), page icon (covid19.jpeg image), and page layout (centered).
The result produced on the web side is the following:
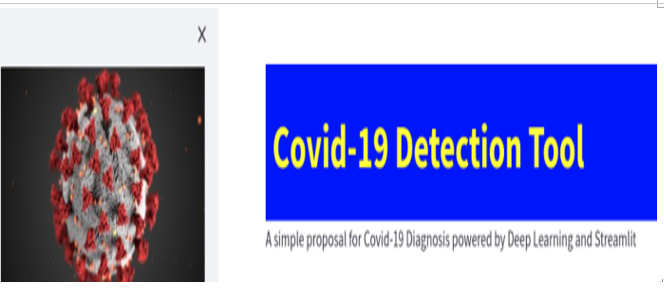
Figure 8.8: Image in the sidebar and text below the title
Now, let’s add to the sidebar a very important widget: file_uploader. The instruction we will use is the following:
image_file = st.sidebar.file_uploader(“Upload an X-Ray Image (jpg, png or jpeg)”, type=[“jpg”, “png”, “jpeg”])
As we can see on the web-side, File Uploader is a widget that lets us upload (or even drag and drop) an image, saving it in a variable named, in our case, image_file. The first argument is just a label (the text Upload an…), while the second argument (type) contains a list with the types of files users are enabled to select.
Immediately after file_uploader, it’s a good idea to insert a check (an if clause) just to be sure that an image has been uploaded and, only in this case, to open it (leveraging the Pillow library we imported at the beginning).
Once we have the image, and only when the image we uploaded can be opened, we can perform some other actions – for example, an Image Preview. This new action can be executed by just nesting another if clause inside the previous one. So, finally, our code inside the main function will be as follows:
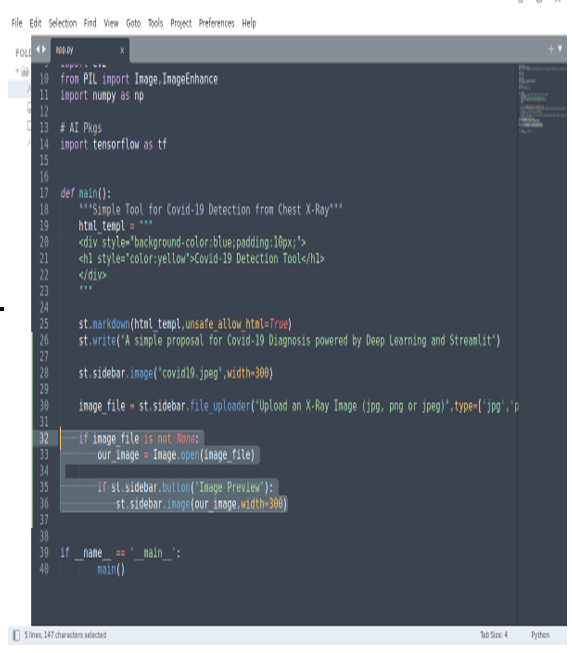
Figure 8.9: How to manage the image
Very easily, we can select an image and when we click on the Image Preview button, we can see it on the screen, in the sidebar, as shown in the following figure:
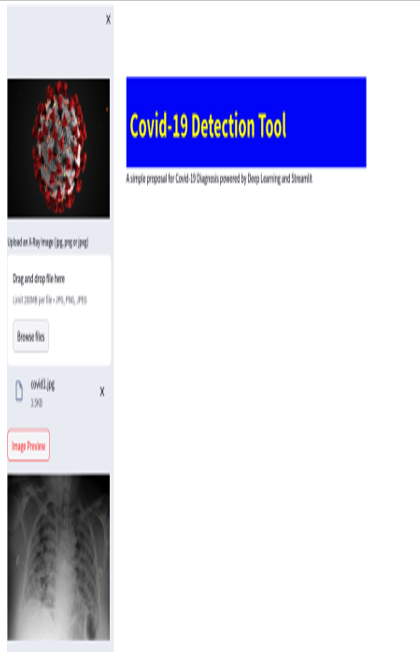
Figure 8.10: Image upload and preview in the sidebar
At this point, we have a complete app skeleton and are able to upload and show an image in the sidebar. We are now ready to build up the menu.